How Do I Calculate the Proper Size of a High-Pressure Cable Gland?
 2025.09.19
 Industry news
Cable glands are critical components in electrical installations, ensuring that cables are securely connected and protected from environmental hazards. But how do you determine the correct size for a high-pressure cable gland?
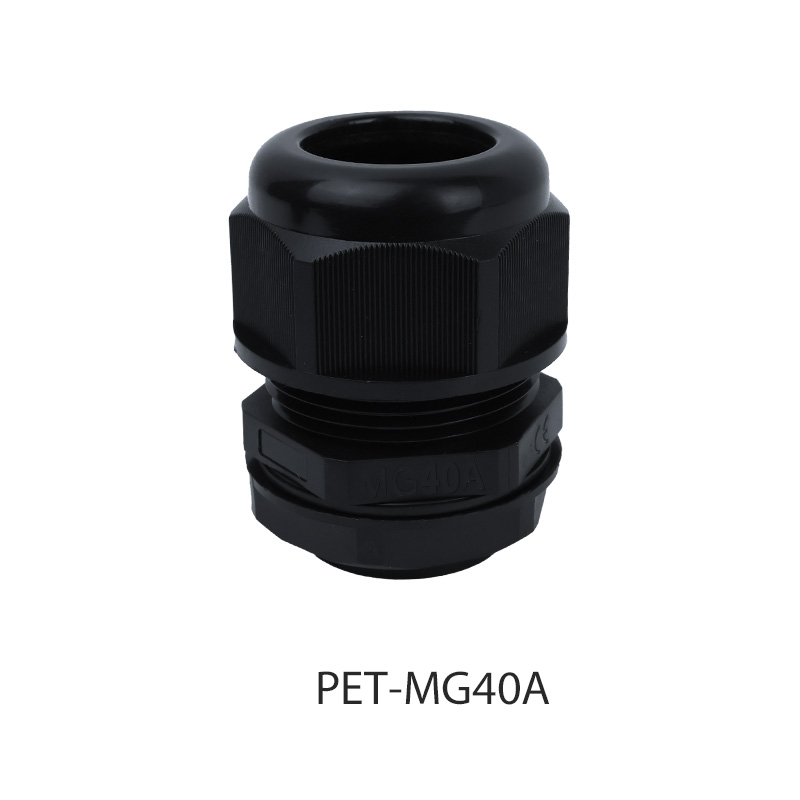
How Do I Calculate the Proper Size of a High-Pressure Cable Gland?
Selecting the appropriate size of a high-pressure cable gland is essential for ensuring the safety and longevity of your electrical system. The step is to identify the cable's specifications, including its diameter and the type of cable insulation. Next, consider the operating conditions, such as the pressure and temperature the gland will be exposed to. Manufacturers often provide sizing charts that correlate cable dimensions with the corresponding gland sizes. It's crucial to consult these charts to find the gland that matches your cable's specifications. Additionally, ensure that the gland's gland body and sealing gland are compatible with the cable and environment. Always refer to the manufacturer's guidelines to avoid any misfits that could compromise the gland's performance.
What is the Life Expectancy of a High-Temperature Cable Gland?
Understanding the life expectancy of a high-temperature cable gland is vital for maintenance planning and cost management. The lifespan of a cable gland is influenced by various factors, including the materials used, the quality of the manufacturing process, and the operating environment. High-quality cable glands made from materials like thermoplastics or elastomers can withstand high temperatures and maintain their integrity for several years. However, continuous exposure to heat, chemicals, or mechanical stress can reduce their service life. Regular inspections and timely replacements are essential to prevent failures. While it's challenging to provide a specific number of years for the life expectancy without knowing the exact conditions, a well-maintained high-temperature cable gland can last for a decade or more.
How Do I Know If a Low-Profile Cable Gland Is Installed Correctly?
Proper installation is key to the performance and safety of low-profile cable glands. To ensure that a low-profile cable gland is installed correctly, follow these steps:
1. Preparation: Begin by stripping the cable insulation to the appropriate length, ensuring no damage to the conductors.
2. Insertion: Gently insert the cable into the gland body, making sure it is fully seated without any kinks or sharp bends.
3. Securing: Use the gland's nut to tighten around the cable, following the manufacturer's torque specifications to avoid over-tightening, which could damage the cable or gland.
4. Sealing: Apply the appropriate sealing gland, such as a rubber or silicone seal, ensuring it is compressed correctly to provide a watertight seal.
5. Verification: Finally, visually inspect the installation to confirm that the gland is flush with the surface and the seal is properly compressed. You may also perform a leak test if the application requires it.
By adhering to these guidelines, you can ensure that your low-profile cable gland is installed correctly, providing the necessary protection and maintaining the integrity of your electrical system. Regular checks and maintenance are also recommended to prolong the life of the gland and prevent potential failures.


 English
 中文简体
中文简体 Español
 عربى
عربى

